As an Amazon Associate, I earn from qualifying purchases.

Yankee Candle electric warmers are a popular choice for adding a delightful fragrance to your home. However, over time, wax residue can accumulate in the warmer, affecting its efficiency and appearance. In this guide, we’ll take you through a step-by-step process on how to remove wax from your Yankee Candle electric warmer. Additionally, ensuring it stays clean and functional. Following these steps will help you maintain the optimal performance and aesthetics of your electric warmer.
Introduction
Importance of Regular Maintenance
Maintaining your Yankee Candle electric warmer is essential to enjoy a consistent and pleasant fragrance in your living space. Additionally, removing wax build-up is a crucial part of this maintenance routine. By addressing wax accumulation, you ensure the longevity and efficiency of your electric warmer, enhancing your overall aromatic experience.
Overview of the Cleaning Process
Discovering how to remove wax from your Yankee Candle electric warmer is a breeze with the right approach. Follow our step-by-step guide to effortlessly clean and restore your warmer to its original condition, ensuring it continues to enhance your home with delightful scents while maintaining efficiency and aesthetic appeal.
Understanding Your Yankee Candle Electric Warmer
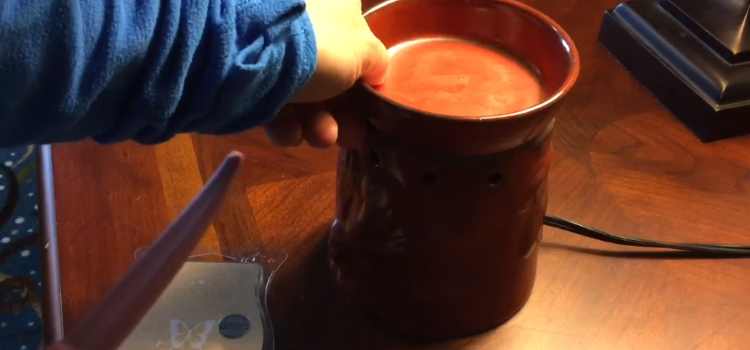
Components of the Electric Warmer
Before tackling the cleaning process, it’s important to understand the different components of your Yankee Candle electric warmer. Additionally, this knowledge will help you target the specific areas where wax accumulates. By familiarizing yourself with the device’s structure, you can approach the cleaning task methodically, ensuring a thorough removal of wax build-up.
Common Issues with Wax Build-Up
Identifying common issues associated with wax build-up, such as reduced fragrance diffusion and potential damage to the warmer, will guide your cleaning efforts. Additionally, understanding these issues allows you to address specific concerns during the cleaning process, ensuring optimal performance and longevity of your Yankee Candle electric warmer.
Preparing for Wax Removal
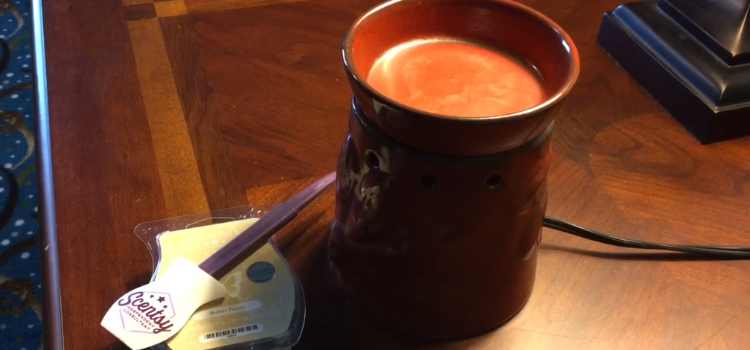
Gathering Necessary Supplies
To effectively remove wax from your electric warmer, you’ll need specific supplies. Additionally, we’ll provide a list of items you should have on hand before starting the cleaning process. This preparation ensures a smooth and organized approach to maintaining your Yankee Candle electric warmer.
Ensuring Safety Precautions
Safety is paramount. Additionally, before cleaning, make sure to take necessary precautions to avoid accidents. This section will outline safety measures to keep in mind during the wax removal process. By prioritizing safety, you can confidently proceed with the maintenance of your Yankee Candle electric warmer, ensuring a secure and incident-free cleaning experience.
Step-by-Step Wax Removal Guide
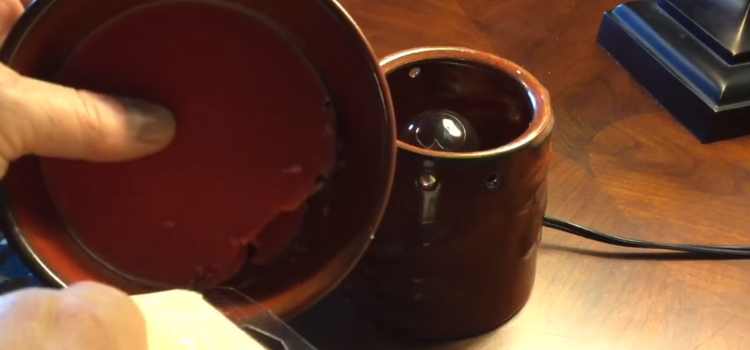
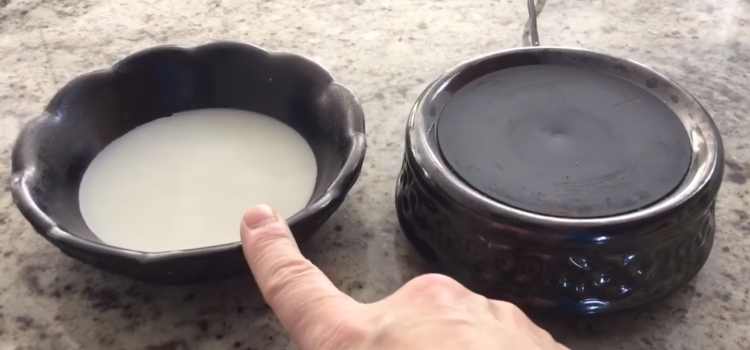
Cooling and Hardening the Wax
The first step is to allow the wax to cool and harden. Additionally, this makes it easier to remove from the warmer. Allowing the wax to solidify is a crucial initial step in the cleaning process, simplifying the removal and ensuring a more effective outcome.
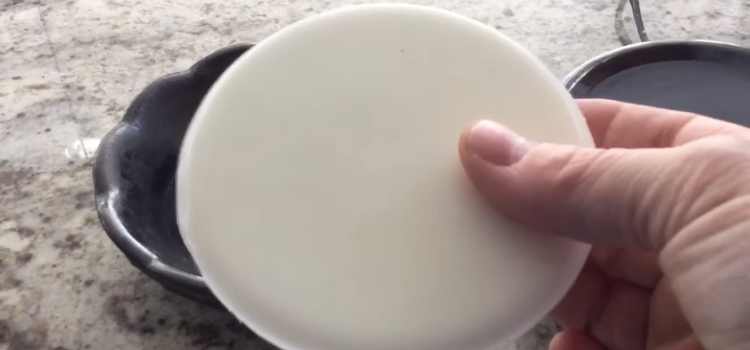
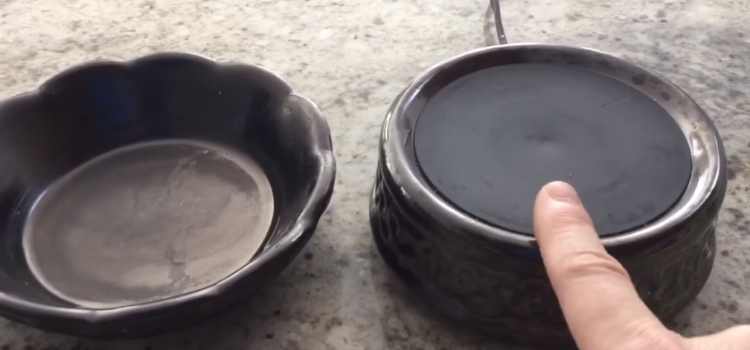
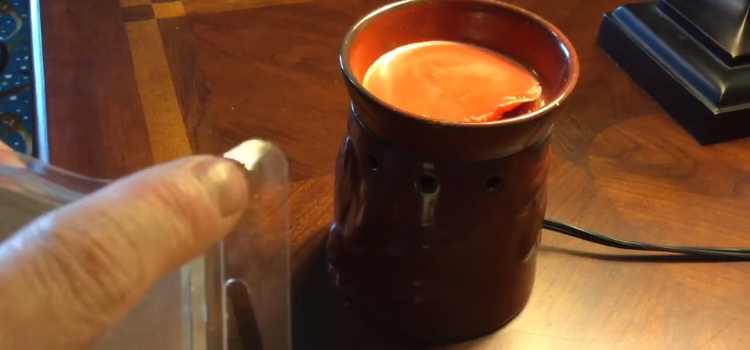
Gently Scraping Off the Wax
Using a plastic or wooden tool, gently scrape off the hardened wax from the surface of the electric warmer. Additionally, employing a soft tool helps prevent damage to the warmer’s finish, ensuring a careful and effective removal process.
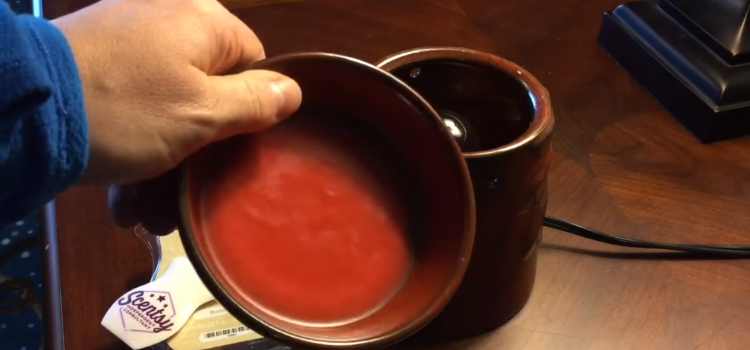
Wiping with a Soft Cloth
Wipe the remaining wax residue with a soft cloth, ensuring all traces are removed without damaging the warmer. Additionally, this gentle wiping action guarantees a thorough cleaning without compromising the integrity of your Yankee Candle electric warmer.
Using Warm, Soapy Water
For stubborn wax residue, dip a soft cloth in warm, soapy water and gently wipe the affected areas. Additionally, this method provides an effective solution to persistent wax build-up, ensuring a more comprehensive and thorough cleaning of your Yankee Candle electric warmer.
Post-Cleaning Maintenance Tips
Regular Wax Inspections
Incorporate regular wax inspections into your maintenance routine to catch build-up before it becomes difficult to remove. Additionally, this proactive approach allows you to address wax accumulation promptly, ensuring a more straightforward and efficient cleaning process for your Yankee Candle electric warmer.
Avoiding Harsh Cleaning Agents
To preserve the integrity of your Yankee Candle electric warmer, avoid using harsh cleaning agents that may damage its surface. Additionally, opting for gentle cleaning solutions safeguards the appearance and functionality of your warmer, ensuring a longer lifespan and continued enjoyment of its aromatic benefits.
Ensuring Dryness Before Use
After cleaning, ensure the warmer is completely dry before using it again to prevent electrical issues. Additionally, allowing the electric warmer to thoroughly dry post-cleaning is crucial to maintain its safety and optimal functionality. This precautionary measure ensures a seamless and hazard-free experience when using your Yankee Candle electric warmer.
Troubleshooting
Dealing with Stubborn Wax Stains
Explore additional tips for dealing with stubborn wax stains that may be challenging to remove. Additionally, these supplementary suggestions provide alternative approaches to address persistent wax stains, ensuring a more comprehensive and effective cleaning process for your Yankee Candle electric warmer.
Preventing Future Build-Up
Learn preventive measures to minimize wax build-up and extend the lifespan of your Yankee Candle electric warmer. Additionally, incorporating these preventive measures into your routine ensures proactive care, promoting a longer-lasting and efficient performance from your electric warmer.
Conclusion
Recap of the Importance of Wax Removal
In conclusion, regular wax removal is crucial for maintaining the performance and appearance of your Yankee Candle electric warmer. Additionally, incorporating this routine cleaning practice ensures a consistently efficient and visually appealing experience with your electric warmer over time.
Encouraging Readers to Take Action
Encourage readers to follow the provided steps to keep their electric warmers in optimal condition. Additionally, ensuring a long-lasting and enjoyable fragrance experience. By adhering to these steps, users can maximize the lifespan and performance of their Yankee Candle electric warmer, enhancing the overall aromatic ambiance in their living spaces.
As an Amazon Associate, I earn from qualifying purchases.
Leave a Reply